How to zero your rifle
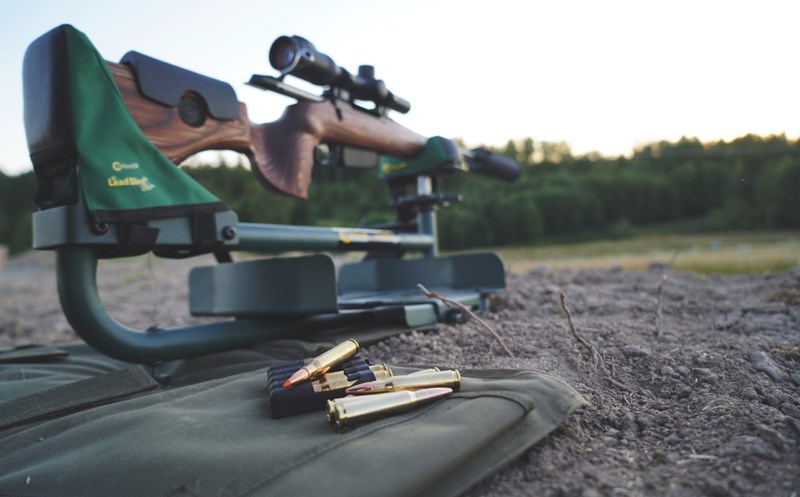
Have you not had the rifle in front for a long time, changed ammunition, or perhaps mounted a silencer? There are many reasons to check out your weapon before you head out on your next adventure. For many it is a matter of course, for others it means a great deal of question marks. But one thing is for sure: having a weapon that is properly zeroed is a responsibility that all hunters have before they go out hunting.
Check out your rifle
Before you start firing, you should check your hardware. Modern weapons can vary in design, but some things remain the same to control. On a classic hunting rifle, the stock bolts must be properly tightened. On a weapon with a barrel exchange system, the corresponding screws must be checked and tightened with even force. A weapon system that is not properly attached to the stock often produces shots that wander off on the target.

The gunstock must never lie directly against the barrel. The barrel should either be completely exposed inside the stock, which is most common, or lie with a proper and constant pressure as on a stutzen rifle. A rifle barrel that is half exposed can result in wandering hits if the stock wood swells in wet weather, or if you take support against a hard surface that pushes the stock against the barrel.
You also need to check the screws on your scope's bracket. But please note, the screws to the top of the rings should not be tightened too tight, as this may damage the scope. Have a professional help you if you feel uncertain during installation.
Save time with a rough adjustment
If you have a newly installed scope, and if your rifle system allows, you save both time and ammunition by making a rough adjustment of your sight. By the weapon system allows it, we mean that it is only possible if you can remove your bolt to provide visibility through the barrel, something you can not do on, for example, a semi-automatic rifle. There are also products on the market to make this easier, including products that act as a laser pointer through the barrel, which then also works well with a closed weapon system.
Place your weapon firmly in the shooting bench and/or support, look through the barrel towards the target, center the ring of the target through the barrel and try to hold as firmly as possible in your weapon. Look up through the binoculars and see that the cross is inside the target. If not, adjust your scope until you are roughly inside the target the before you start shooting.
Good support is important
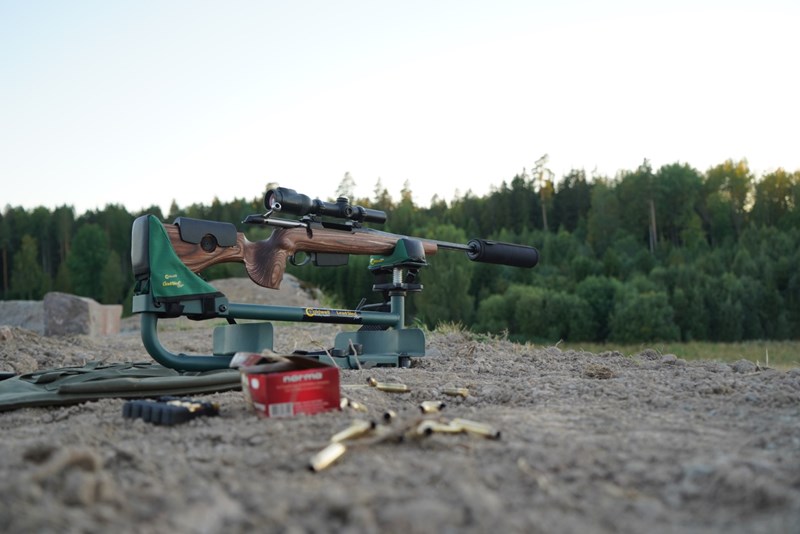
Zeroing with poor support is a waste of both time and ammunition. If you do not have access to a solid shooting bench, you should at least strive for the same support that one offers - for example a bench made of solid wood, and / or a sandbag on which your weapon is stable. If you have the opportunity, shooting in a prone position can also be advantageous, for example with a sandbag at the front and one at the back of your gun stock.
If you are not an experienced shooter, you should not draw any conclusions from individual shots. You should instead strive for a series of at least three shots and then draw conclusions from the hits you have. If the shots spreads more than ten centimeters, you should consider a new support for your rifle or check your equipment before you start clicking on your sight's adjustment knobs. Here, too, shooting practice is a big factor. Fear of shots and bad shots can give scattered shots where you, for example, "jerk" your shots. Shooting practice is medicine against this, where also "dry firing" can be highly effective.
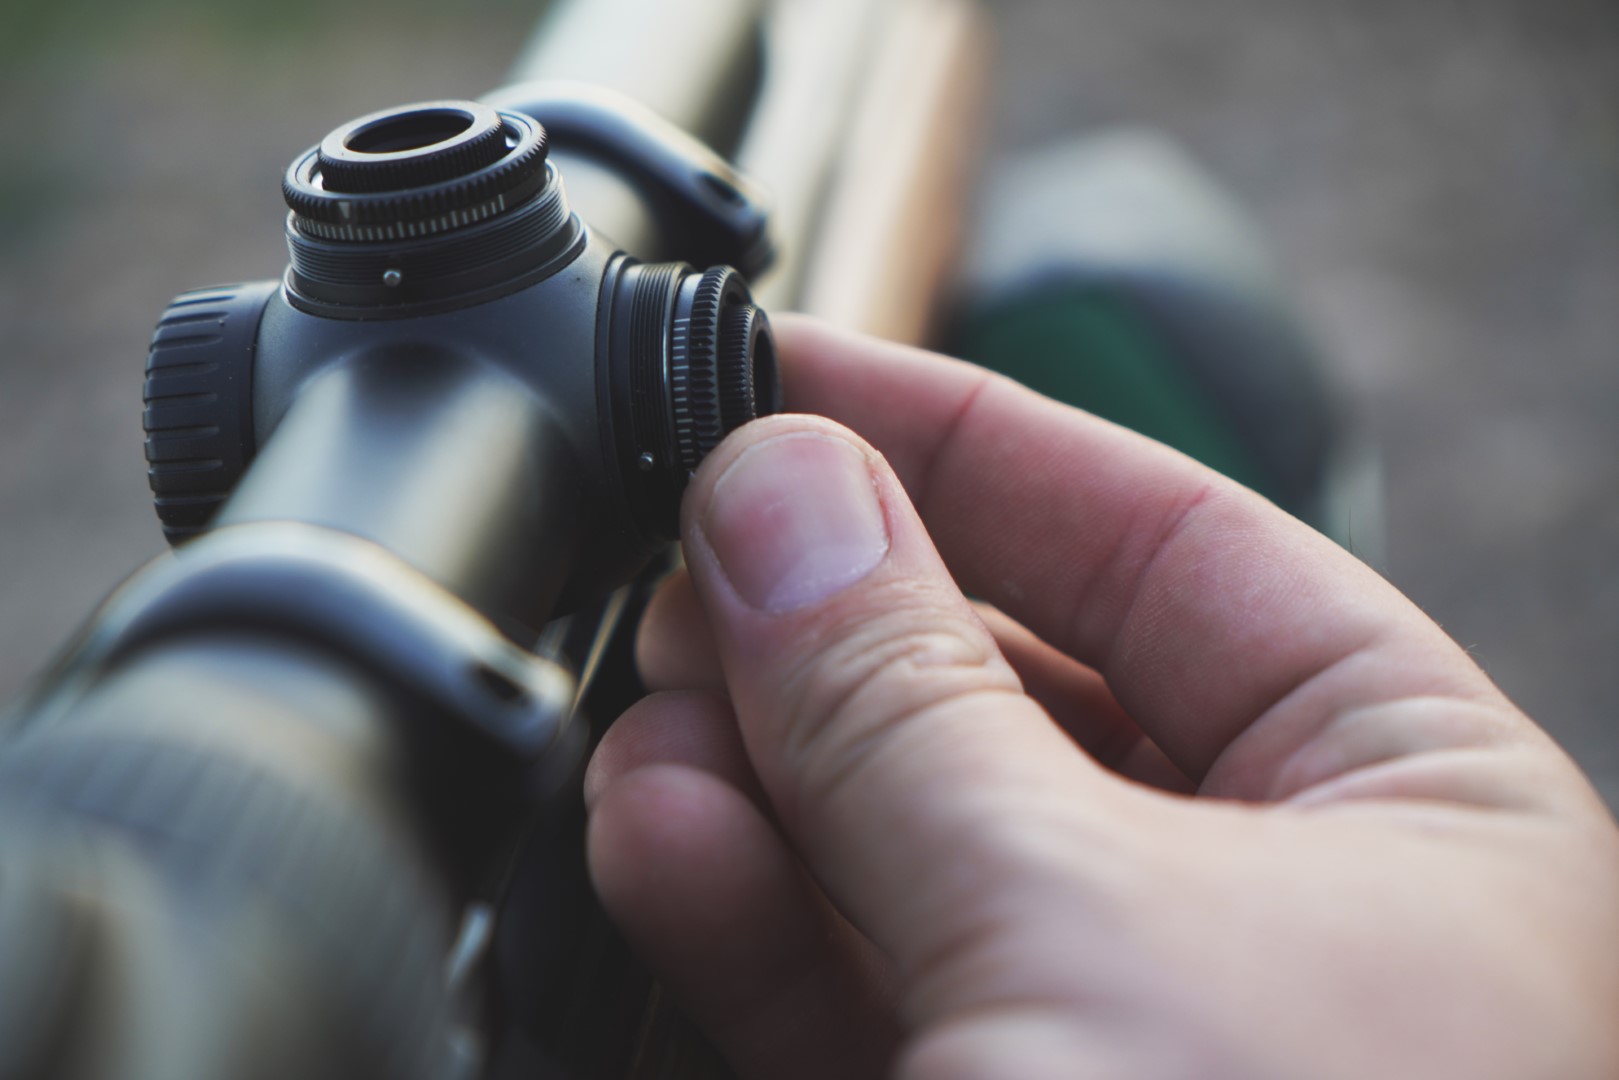
The most common rifle scopes usually follows the same principle - you adjust the sight in the direction you want to move the hit. For example, if you hit low to the right, you screw the sight according to the arrows, up and to the left. How much each click moves the hit varies between brands, but as a simple rule is one centimeter of 100 meters per click. If you have a scope that is MOA-graded, usually 1/4 MOA per click, a click of 100 meters corresponds to about 0.7 centimeters.
Time to start shooting
Once the weapon is checked out, by yourself or a professional, it's time to start shooting. If you want to start shooting with practice ammunition, this is good idea, but do not make the mistake of thinking that this is sufficient shooting if you then intend to hunt with something else. Each bullet can behave differently in your weapon and zeroing the rifle scope should be done with the ammunition you are going to hunt with.
Choose a practice target that suits your scope and that you are comfortable with. Norma's own practice targets (which you often find at our retailers but also on our website) are very good and easy to use, that easily allows the scope’s reticle to be centered in the target, partly with its circular design and a grid with centimeter (or quarter MOA) gradation that allows you to easily calculate how much you need to adjust.
Please note, if you change from lead to a copper bullet, you can get a slightly different hit position on the first shot.
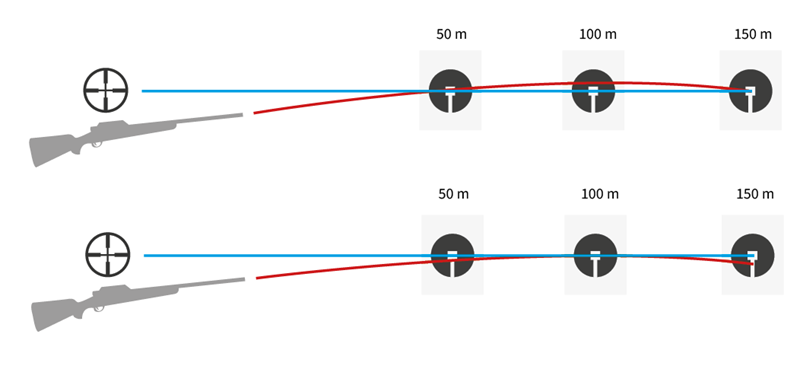
100 meters is preferable
You should always strive to fire your weapon at 100 meters. The trajectory of the bullets is often stated in 100’s, and with other accessories, such as the ballistic tower, you can always find advantages in having the weapon fired at this particular distance. On our boxes you will find a simple table of how much the bullet drops depending on the distance. After firing, you can adjust a few clicks in height if you would like to have a small "ballistic adjustment", which means that you can hit a couple of centimeters high at 100 meters, but hit in the middle at, for example, 150 or 200 meters depending on bullet and caliber.
Good luck!